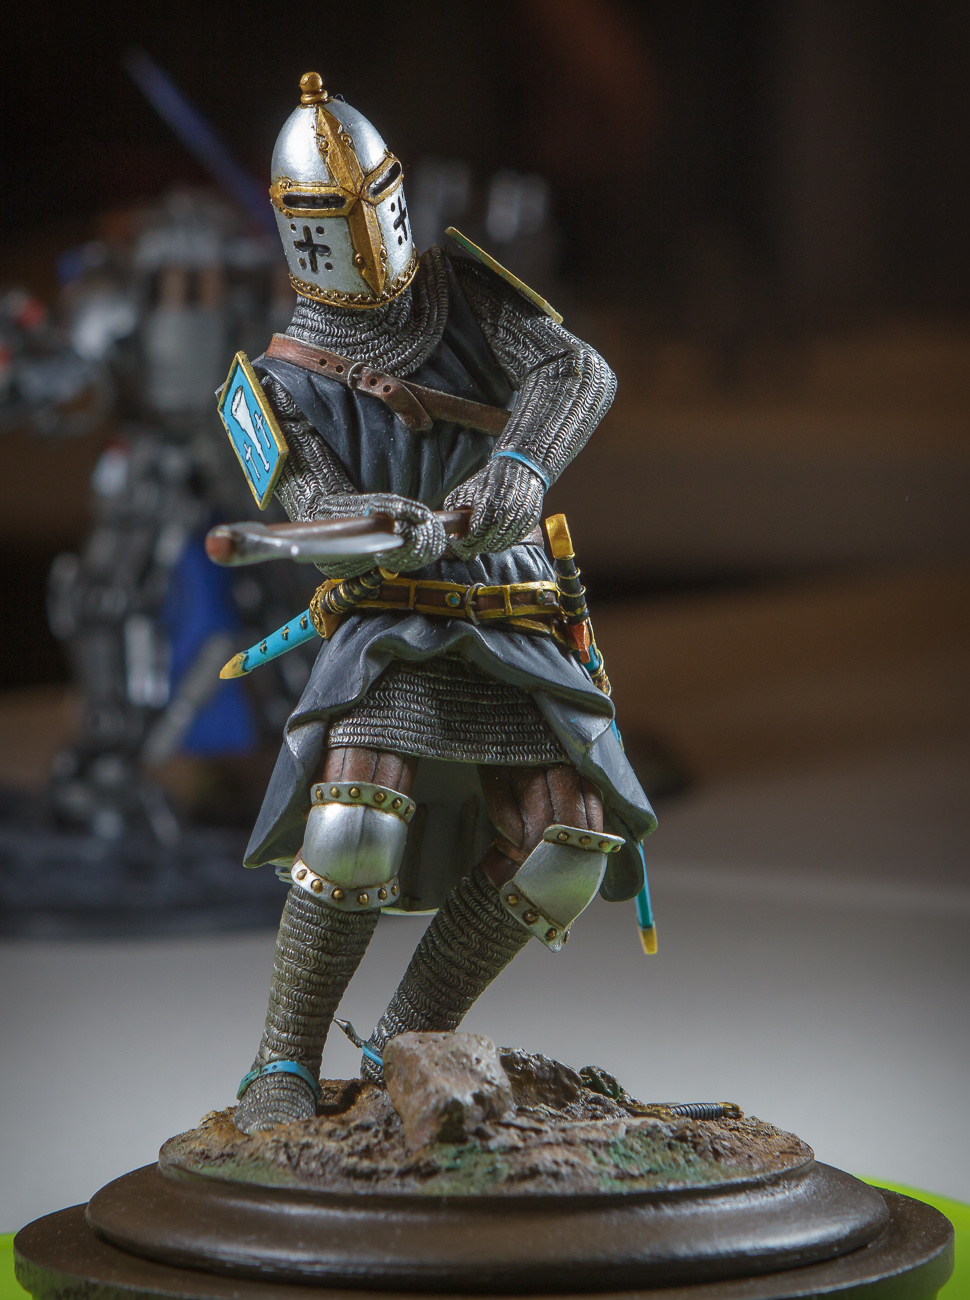
Model photography isn’t hard to do. With a little patience and knowledge of your camera, you can produce some excellent photos of your latest project. Much of this discussion relates equally well to either digital or film photography. The big advantage to digital cameras is that you can preview your results immediately and with appropriate editing software, often correct for problems in the original image.

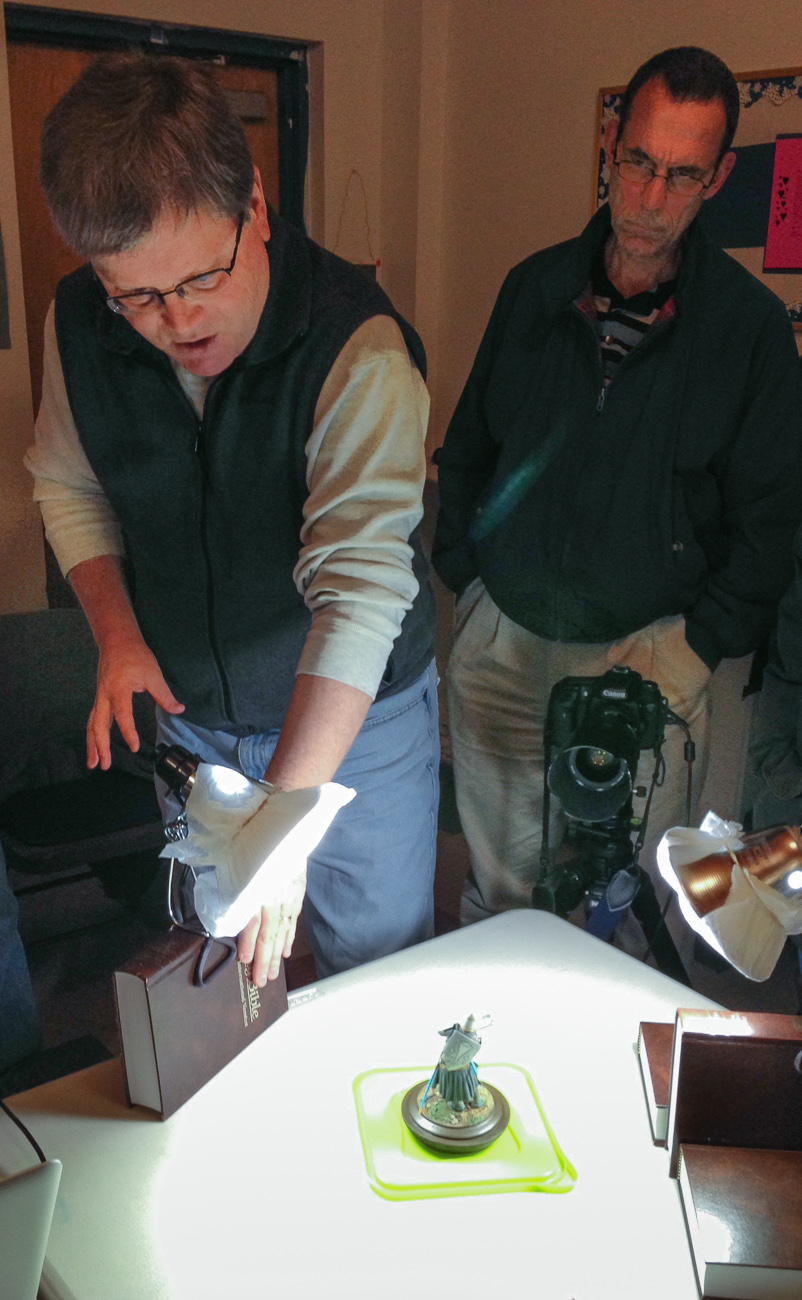
Dennis Tennant demonstrates how to light and photograph models using inexpensive lights and photo gear. Notice ‘high tech’ light stands (church Bibles!)
If possible, set the camera on ‘manual’ mode so you have full control of the settings. Also, if your camera has a close-up setting (also called ‘macro’), choose that and use. Some cameras use a “flower” icon to denote their macro setting (Canon for example.) At the very least, use the ‘aperture’ mode that allows you to choose your aperture setting.
Use an aperture setting smaller than f/11. The higher this number (such as f/16), the more depth of field. The bigger the number, the smaller the ‘hole’ when the camera shutter opens.
Make sure your light sources are the same. Use either all florescent, tungsten, daylight, etc. Don’t mix and match. I use two Ottlite brand to illuminate my models. Be sure to turn off your regular room lights when shooting your model to prevent unintended color shifts to your photos.
Pencil trick: Once you have your lights arranged at roughly 45 degree angles to your model, hold a pencil upright where you plan to place your model. Look at the shadows cast by your pencil, the shadows should be the same density. Equal shadows mean equal lighting. Placing one of the lights low will create drama by highlighting the textures of the subject.
White Balance: Shoot a white balance test target to set your color balance. It’ll make color balancing your work much, much easier if you use image editing software.
Camera placement: Putting the camera’s ‘line of sight’ low will often make for a more dramatic image; if placed at ‘scale eyeball’ height, the subject looks less like a model and more like the real thing.
Steady that camera! Camera shake is your enemy. I invested in a tabletop tripod years ago and it holds my camera securely and steadily during the photo process. Being compact, it fits on a table with the models with no problem.
When focusing, remember that 2/3 of your depth of field will fall BEHIND your focus point. Set your focus point with that in mind. Experiment and learn the best ways to orient your model to the lens to get the best results. More of the model in the same plane perpendicular to the camera lens axis will keep more of the model in sharper focus.
If you don’t have a shutter release cable, use the self-timer to ensure there is no camera ‘shake’ during exposure. Squeeze the shutter release and then remove your hand for the best results. Also, make sure no one is shaking the table (this is the main problem I run into when shooting at shows).
Turn off the on-camera flash: The on-camera light will most likely be a different color temperature than the lights illuminating the model…causing color shifts. Turning off the flash will make longer exposures a necessity but your tripod will keep things sharp.

With many digital cameras, direct interface with image management software allows for immediate access and control of the picture as it happens.
When shooting digital, there are several different file formats to choose. JPEG is a compressed file and will take up less space on your hard drive. TIFF files are uncompressed and will be better quality but at the cost of being larger files. RAW format files are also popular with advanced users comfortable with using image editing programs to post-process their work. My recommendation is to use JPEG files but keep the compression setting above “8” for best quality if you’re new to photography.
Image sizing: For emailing or posting on the internet, aim for 800 pixels wide. For printing in magazines or making prints on your home printer, 2400 pixels/10 inches will give you good results.
Practice makes perfect: Don’t change your set-up once you find the combination that works for you! Remember, when you shoot digital, bad photos cost you nothing! Hit the delete key and start over.
The best advice I can give? Find your manual and read the sections on exposure and macro settings – at the very least. Being well versed in your camera’s features will allow you to get the most from your ‘tools’.

