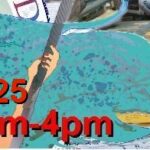
Once again, the annual event is upon us! The 17th HRSM “Model Auction” Swap Meet will held in the customary venue at the Emmanuel Lutheran Church in Virginia Beach. VA (click for Google Maps) on Saturday, 25 October 2025 from … Full Article→
Once again, the annual event is upon us! The 17th HRSM “Model Auction” Swap Meet will held in the customary venue at the Emmanuel Lutheran Church in Virginia Beach. VA (click for Google Maps) on Saturday, 25 October 2025 from … Full Article→
Scribing Demo via Robert Beach (IPMS-USA #9460) (Download copy – Here)
NOTES:
Video – Paul Budzik (https://www.paulbudzik.com) has a very good intro to scibing techniques, among many other topics.
Why? Scratchbuilding, repairs, accurizing, using good kits that have raised panel detailing
How? Courage and creativity and practice with your tools:
Tools
-Needle/scriber points
-Engravers (Tamiya/UMM-USA)
-Micro chisels
-Scrapers
-Sanding/smoothing (sanding sticks/scuff pads/needle files. wet-n-dry sandpaper)
-Templates, eraser shields / soft copper sheet, straight edges, tape
-Clothes pins, small clips for clamping
-Lighting/magnification
-Micro saws
-Drills
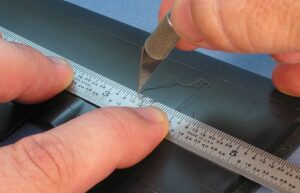
-Pencil/ruler/compass for measuring
-Plans that show details
Technique – Take your time!
-Bracing (table top/fingers/clamping templates & straight edges)
-Pressure (plastic ‘grain’/progressive)- Use gentle, controlled strokes, block endpoints with fingers to prevent over runs
-Practice on internal surface of parts to get the feel for the plastic.
-Start shallow then deepen to desired depth/width with repeated strokes. Don’t do all at once!
-Start easy, start at ends, end in the middle if possible.
-Pointed scriber then use engraver if needed, sand/file raised plastic edges as needed to smooth
-Clean out dust using pointed scriber or sharp, short needle (slightly blunted and smoothed)
-Also, can use soft paint brush to clean out grooves
-Final ‘clean up’ with light coat of thin cement (dissolves the dust)
-Pointed scriber used for shape templates.
-Fillers & glued joints: CA scribes cleanly, surface putties can ‘flake’, test first. Joints can be soft, take care to prevent gouging. 3M Acryl-White Glazing Putty is excellent for surface repair and scribes cleanly. All putties should be allowed to fully cure before sanding and scribing.
-Repairs (CA filler/applicator/file/sand)-Use point applicator for CA, apply just enough to fill defect, allow to harden without accelerator, then file, then use fine sanding stick to smooth.
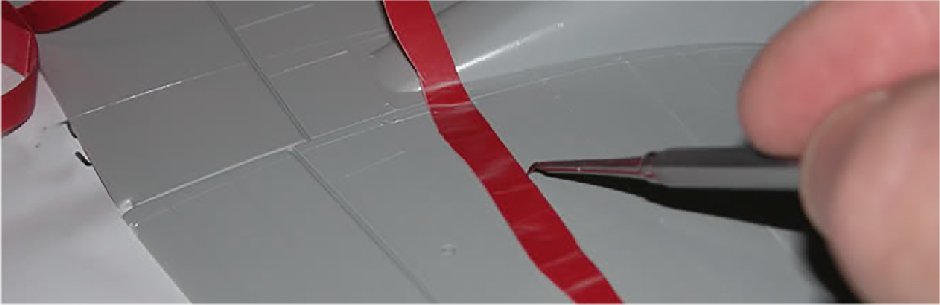
-Straight edges (tape/metal) Templates: CLAMP it/ TAPE it, make sure it will not move. Do Not use too much pressure.
-Handmade templates (clear plastic best, brass sheet for small shapes, copper or aluminum (drink can) sheet for flexible ‘profile’ straight edges or shapes like access panels)
-Freehand? Can follow existing raised panel lines but takes practice & the engraved line is slightly offset – pay attention to which side you’re following.
Resources:
Internet: Videos (You-Tube), sourcing tools
Tool Sources:
UMM-USA – https://umm-usa.com/
Scribers, chisels, templates and rivet systems
MicroMark – https://micromark.com/
loads of tools, templates and other guides
Tamiya – https://www.tamiya.com/english/tools/index.html
Selection of drills, punches, engravers, templates. Good quality,if pricey, selection. Especially the tool handle that takes different size scriber
‘bits’.
Online Suppliers:
Sprue Brothers – https://spruebrothers.com/tools-supplies/
Squadron Shop – https://squadron.com/tools/
Amazon – https://www.amazon.com (search for :Scriber Marking Tools)
Hobby shops
Practice! Practice helps develop the ‘feel’ for the technique.Dive in and have fun!
Presentation:
Discuss engraving rationale
Point to examples (Monogram F-16 & F-14, MPC A-Wing, Lindberg F7U-1 Cutlass)
Methodology
Scribe as much before assembly as possible (when scribing base plastic)
Test on inside surfaces to get the ‘feel’ of how the plastic scribes (plastic has a “grain” due to the injection flows)
Light touch, repeated light passes instead of fewer harder ‘draws’.
Confirm details to be worked and where. Remove any raised lines unless being used as guide (where correct)
Use a pencil to help keep stuff straight. Complicated panel patterns can easily get confusing
Use good light for viewing the work directionally.
Silver plastic shows a raised line even after it is sanded off.
Work out a sequence for the scribing, and a general procedure which differs if scribing into the plastic, primer or paint layers.
Technique
Begin from an endpoint as much as possible. Stop short of the next end point, swap direction – to prevent overruns.
Do lines that begin on an edge or other structural element first, as they are less risky for overrruns (IOW, avoid starting with lines that begin ‘in the middle’ of an area.)
Try and be consistent with everything the same to begin, then selectively deepen specific lines as needed.
Always secure the template with tape and or clamps, depending on the situation.
When using a tape guide, try and not press against the edge too strongly as it can distort
Doubled masking tape, cut with a sharp edge, can be used as a guide. Recommended when scribing in either primer or paint layers, especially on curved or compound curve surfaces.

Bill was always an enthusiastic and kind participant in club meetings where he was obviously glad to be in attendance. He often had interesting tales of history and modeling experiences which he’d share with relish. His joy in the hobby … Full Article→
11/29/2023: Speaking of painting, a line of enamel paints has recently come to my attention: Tru-Color Paint. Seen in the IPMS/USA Journal adverts and touted as the ‘Official Paint of NAVSEA’ – the command that builds and maintains the Navy’s ships – it has been around since 2008, according to the company website (https://trucolorpaint.com/). Since the ‘demise’ of Testors and its solvent based lines of paints (ModelMaster & Testors enamels) hobbyists have found such paints a little difficult to find. But now there is a “new” manufacturer of railroad and scale modeling targets lines. Recommend checking out their site for the full story!
9/3/2023: Painting your model is something that probably one of the biggest joys and frustrations involved in the hobby. Something that helps is learning all you can from the experiences of other modelers. While ‘diving down a rabbit hole’ for ‘reverse alligator clips’ based on a tip from member Jim Hassler, I came across this website which is part store, part blog, all aimed at this specific aspect of the scale modeling activity: painting. I found it has lots of good information plus the support & tools to back it up. I highly recommend it as a good ‘rabbit hole’ to drop into!
Model Paint Solutions: https://modelpaintsol.com/
9/3/2023: I’ve stumbled on a couple of new (well, to me!) model manufacturers Halberd Models and Titan Models.
Halberd offers a small but growing range of high quality resin kits and conversions of interest to the 1/32 and 1/48 aircraft modeler. I’m eyeing their 1/48 scale Cavalier Turbo ‘Enforcer’ conversion as it would save quiet a bit of effort doing a scratch-conversion. All models come with decals, and some PE as well as appropriate. (https://www.halberdmodel.co/)
Titan Models is offering a range of mostly 1/72 scale airliner kits that can be considered ‘multi-media’ as larger components are vacuformed while the detail parts are 3D prints of very high quality. I purchased their 1/48 scale B-2 bomber kit (yes, you read that right… roughly three foot wingspan) which includes lots of printed detail parts including a beautifully intricate crew ladder. The decals require a choice of the specific airframe before ordering. I am looking forward to the planned 1/48 scale STS (aka ‘Space Shuttle’) kit which looks to include the EFT stack as well. Yeah-haw! (https://www.titanmodelkits.com/)
6/28/2024: In the course of working on an ‘ancient plastic’ 1/500 scale Renwal kit issued under the Advent label, I found a wonderful source for 3D printed aftermarket parts produced by Model Monkey (https://www.model-monkey.com/). Besides a wide range of ship model parts in just about every scale imaginable, they also cover parts for aircraft, armor and trains. Additionally, they offer nameplates and a small selection of scanned shipyard plans (at no cost.) Well worth the visit!
I have recently created an update of the classic fictional Aurebesh ‘alphabet’ (which is basically a one-to-one coding of the 26-character English alphabet) as utilized in the Star Wars movie ‘verse. I tried to make it more fluid and to correct for ‘near dupe’ characters (such as the ‘G’ and ‘U’ characters, which are pretty darn close to each other.) I also replaced the numbers with new, non-Arabic characters. Here is a comparision image between the three alphabets:
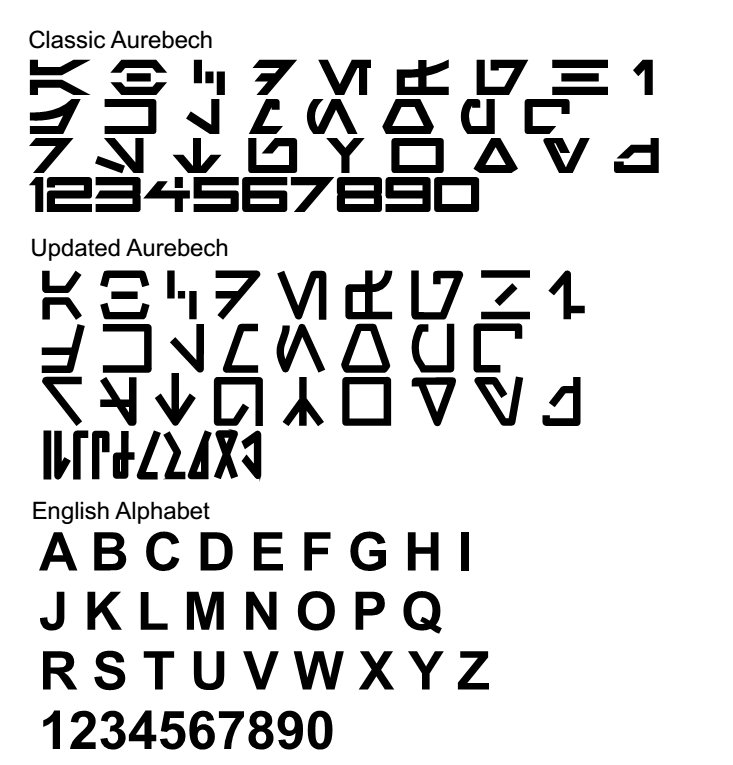
I also added/updated some other operative and symbol characters as well as the standard digraphs & diphongs, so the entire character set was more useful for more complex labelling. The result looks like this:
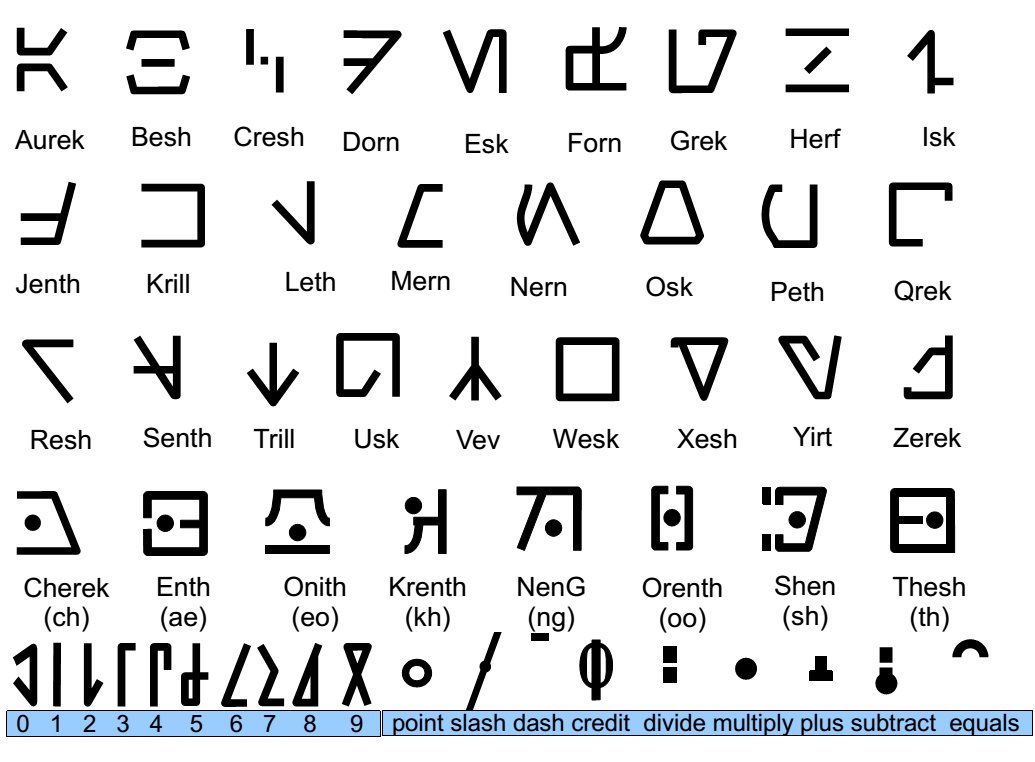
I generated an OpenType font called RealAurebesh that can be loaded to Windows OS, available HERE.
For anyone who has been working with plastic model kits for any length of time, there is a good chance they’ve encountered an old set of decals that have ‘yellowed’ on the sheet. Whatever the cause, there is a ‘trick’ to removing the yellowing from the clear film areas that usually works very well: sun bleaching.
All that is required is a sealable clear plastic bag (big enough to hold the decal sheet) or clear document ‘sleeve’ (as used with below example) and some cellaphane tape. Seal the bag and then tape to a window facing the sun’s primary direction (for example, south-facing in the northern hemisphere…). Then leave the sheet exposed to the sun until the yellowing has disappeared. This may take quite a while depending on the extent of the discoloration and of course on the degree of sunny days, so be patient. The plastic bag is necessary to protect the decals from any moisture that may occur on the face of the window glass.
Here is an example of an old aftermarket sheet (HistoDec?) showing the progression of the clear film’s ‘brown’ haze as it is cleared just by exposure to the sun’s light.
One note on “old decals”: yellowing of the clear film probably indicates the decals will also need special care when attempting to use them. Although probably a general good practice, a ‘test’ of an unused decal from the sheet to check if the decal might fragment/crack while being used is a good idea. If you can actually see ‘cracks’ in the decal, they are certain to have this problem; use of a suitable clear spray overcoat may help, again followed with a test to check results. If serious help is needed, Microscale makes a liquid ‘decal film’ that can be used to support fragile designs.
If all else fails, then scanning the original sheet and reprinting the most critical design element is always an option – a job made easier when the clear film is indeed ‘clear’!
I have known Bill for many, many years, sharing time at Tidewater and HRSM club meetings, at get-togethers such as John Kelly’s St. Patrick’s Day parties, club socials like the annual summer picnics and for drives to modeling shows and adventures like the visits to see Kathy Howell. To say nothing about the IPMS/USA National Conventions! Always, his company was a joy. He was a mentor and good friend, the best “mate” one could have. Within the Hampton Roads modeling community, he was a stalwart and a role model (no pun intended) at so many levels. Bill had an unassuming and gracious personality and showed a constant good humor with most any circumstance. “Wilbur” certainly loved to share his life experiences with his friends, especially over some Buzz and Ned’s BBQ or fried fish at Hampton Seafood Market. I know, as for so many others, it just won’t be the same ‘around here’.
(Please feel free to offer memories and stories of Bill in the Comments section below.)
from https://www.legacy.com/obituaries/dailypress/obituary.aspx?n=william-l-brickhouse&pid=197647098
On February 1, 2021 William L. Brickhouse passed away peacefully surrounded by his loving family, and his fur baby, Gotti, on his lap. Bill (William) was born August 15, 1937 in Norfolk,Virginia.
Early in his adulthood Bill was in the U.S. Army Reserves. He worked all of his adult life as a civil servant for the United States government and received numerous meritorious awards for his service. Bill was a charter member of IPMS, the International Plastic Modelers Society. His love of building plastic models started before he could remember. He was considered a master modeler, even being asked to build the airplane model that Herbert W. Bush flew. Many of his works are displayed in various museums. He was a member of Riverside Baptist Church in Norfolk,Virginia.
He was a loving husband, father, grandfather and great-grandfather. Bill made many friends all over the world. He will be remembered for jokes and laughter.
He was preceded in death by his parents, Benjamin and Hazel Brickhouse. Survivors are his wife Sylvia Van Liew Brickhouse; daughters, Deborah Brickhouse, Lisa Brickhouse Kelly and her husband Mike; stepson Dennis Hancock; grandchildren, Elizabeth Stella Barbrey, John A. Presgraves, Jr. and his wife Brooke, Courtney Garrett and her husband Justin, Eric Rutter; great-grandchildren, Kyla Lawson, Zachary Presgraves, Lyla Presgraves and Vesper Rutter; and many cousins all over the country.
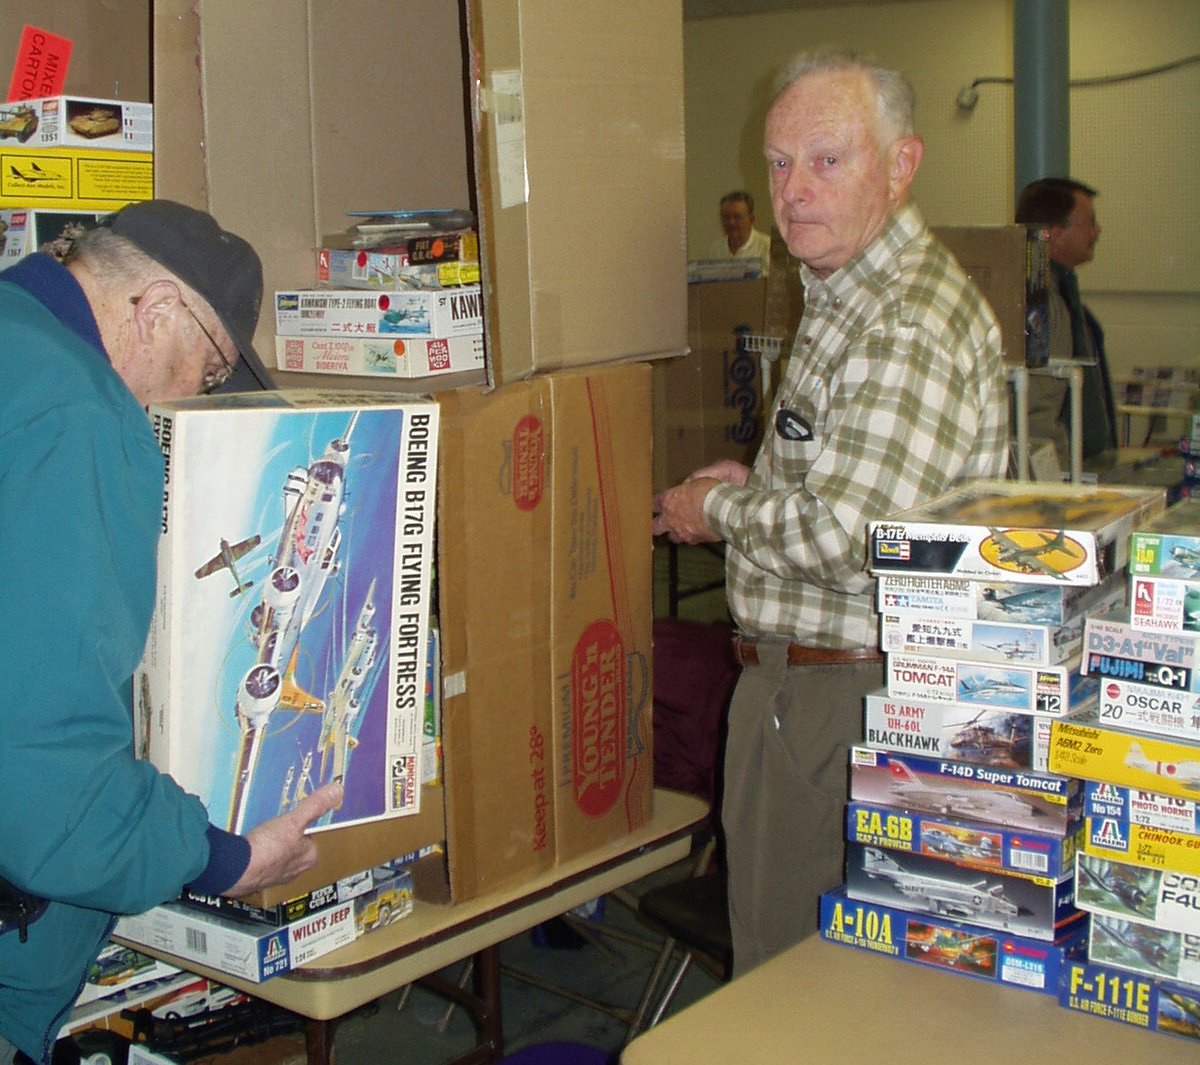
Below, some images of our friend at club meetings.
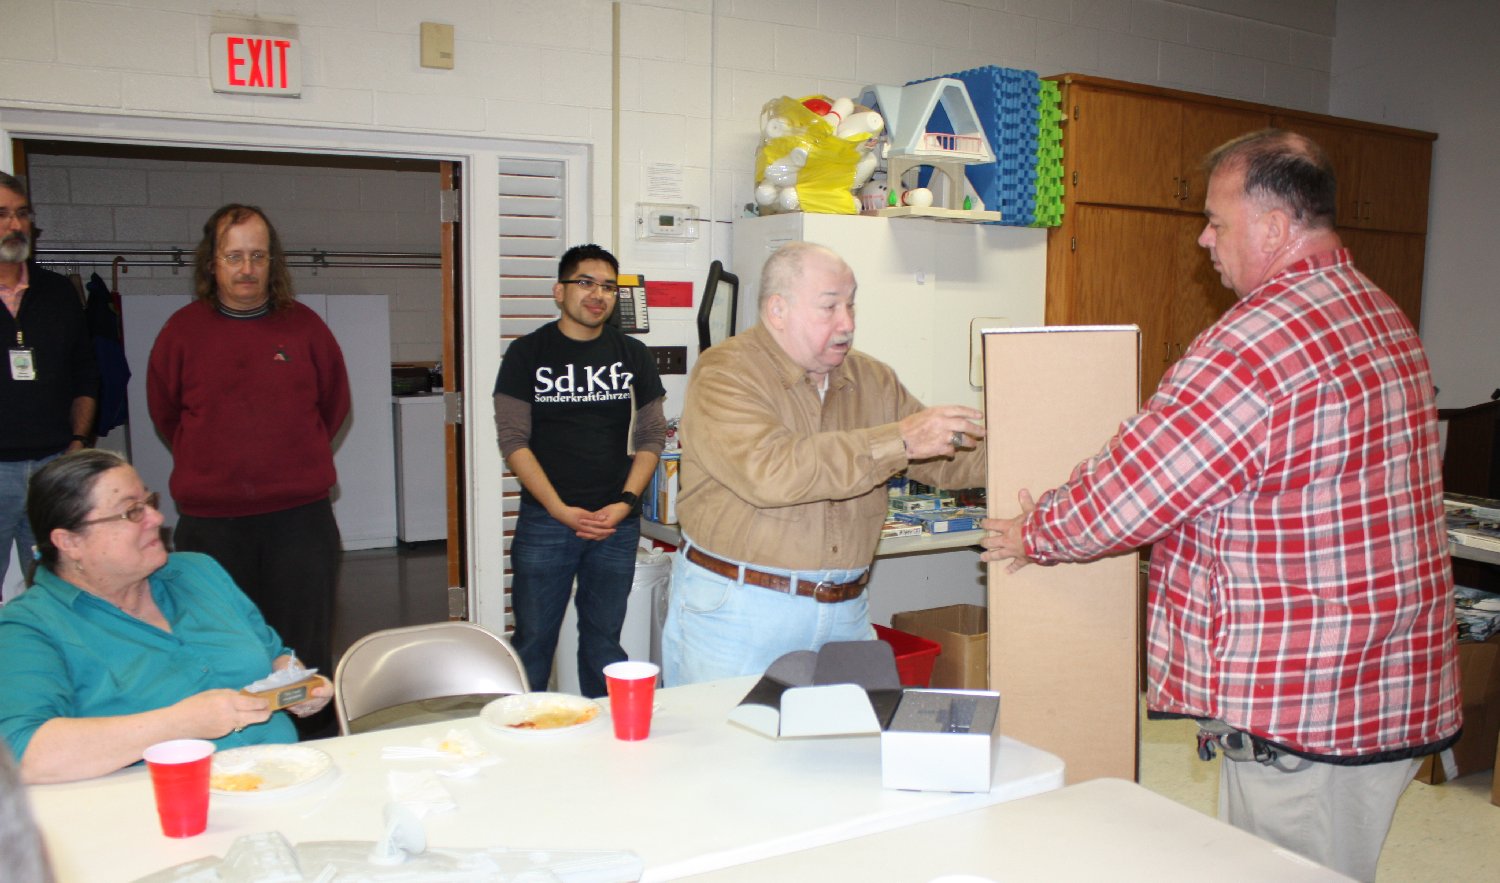

This gallery contains 12 photos.
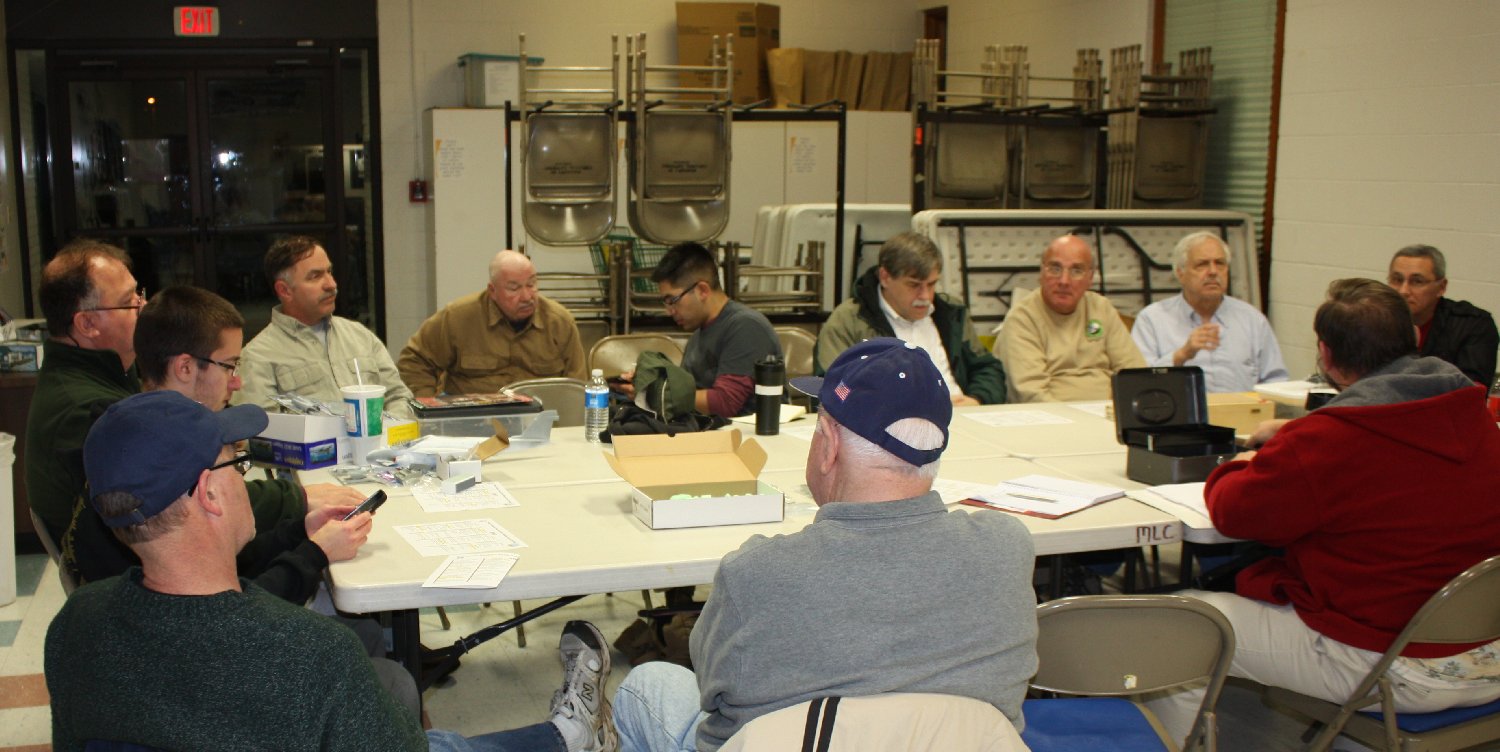
Club President Mike Hilliker brought the meeting to order at 7pm. Seven members were in attendance. Room setup and ‘wipe down’ was accomplished in quick order beginning at 6:30 pm as planned. Once cleaning solutions were applied and allowed to … Full Article→
 John and his bonnie lass Ann have been attending HRSM club meetings for many, many years. His obvious joy was in history and modeling was a tool he used to illustrate the events and lessons from the past. His passion was especially for nautical history, which meshed perfectly with the patriotism born of a life of courageous service. John’s unending enthusiasm for sharing the lore he knew with others , creating wonderfully artful and informative displays explaining the broad and focused details of history, was a huge part of his life. This propensity for teaching was just one aspect of a man who unabashedly made connections with everyone he met.
My own connection with John was through our time in the modeling club and rather small given the arc of John’s life. To me, he was a honest acquaintance – a friend even – but always steadfast. I admired his intellect, creativity, personal fortitude and just generally enjoyed his company. John had a good heart, a salty humor and a very strong grip. He will be missed.
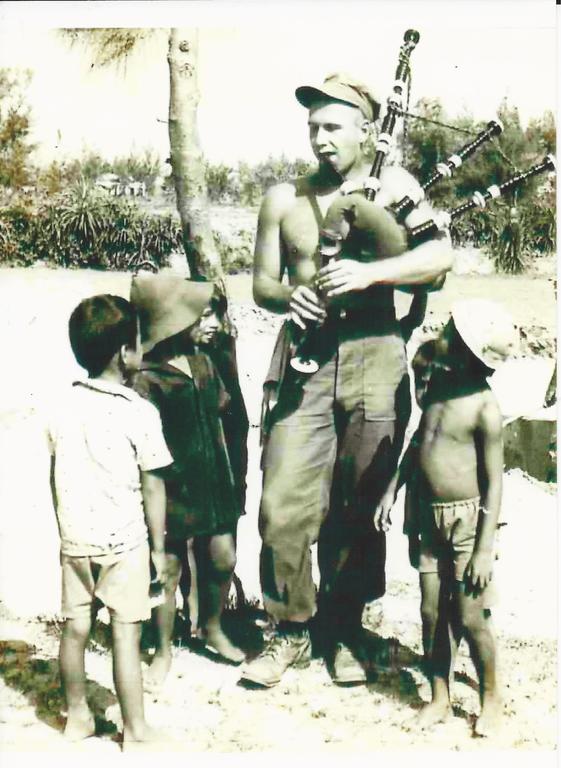 John Joseph Nugent
John was a man of many passions. Besides his family, he was passionate about his country, instilled in him by his mother and father who both served on active duty during WWII, his Navy, Scotland, bagpipes and any animal that ever drew breath. John spent 28 years in the Navy, 15 of which were as a hard hat diver. Since retiring in 1991, he also reached over 2 million people with outreach programs on Navy/Marine Corps history and heritage. John played the bagpipes since the age of 10, and always said the time stationed in Scotland felt most like home and will be the final resting place of his ashes.
John loved animals and had a constant parade from the injured seal in his kitchen in Scotland to injured raccoons and birds and countless dogs and cats. Any animal was safe once they got to John.
John leaves behind a family that loves him more than he could ever know, including Ann, his wife of 32 years; son, Sean Nugent; sister, Patricia (Patty) Histon; stepsons, Richard and William Leonard; five grandchildren; a great-granddaughter; niece and nephew and many great nieces and nephews. He was a true Highland Gentleman.
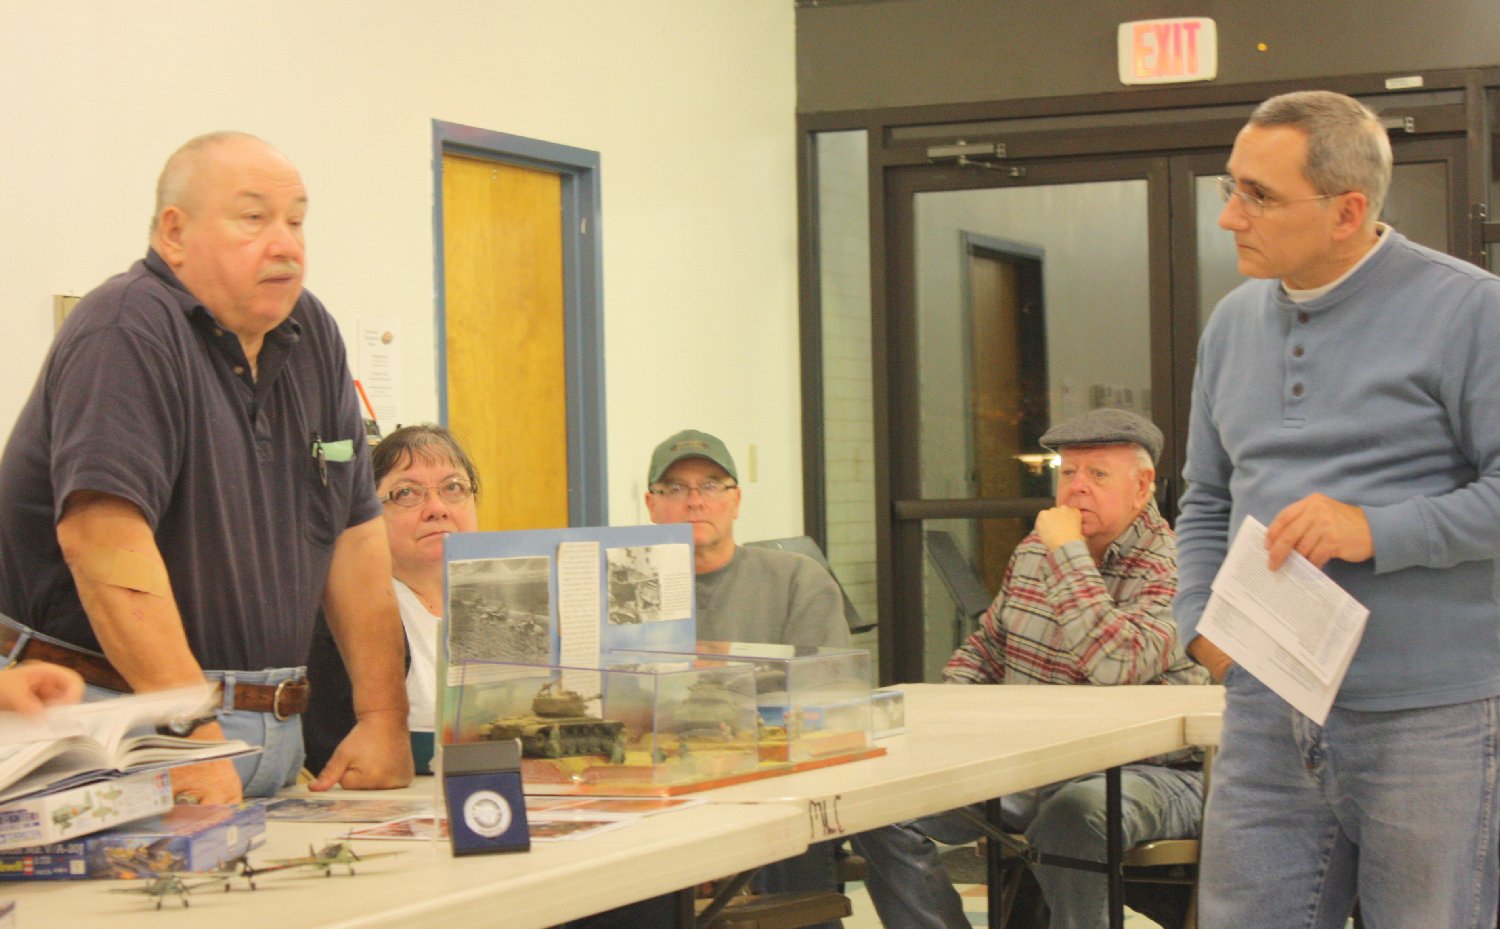
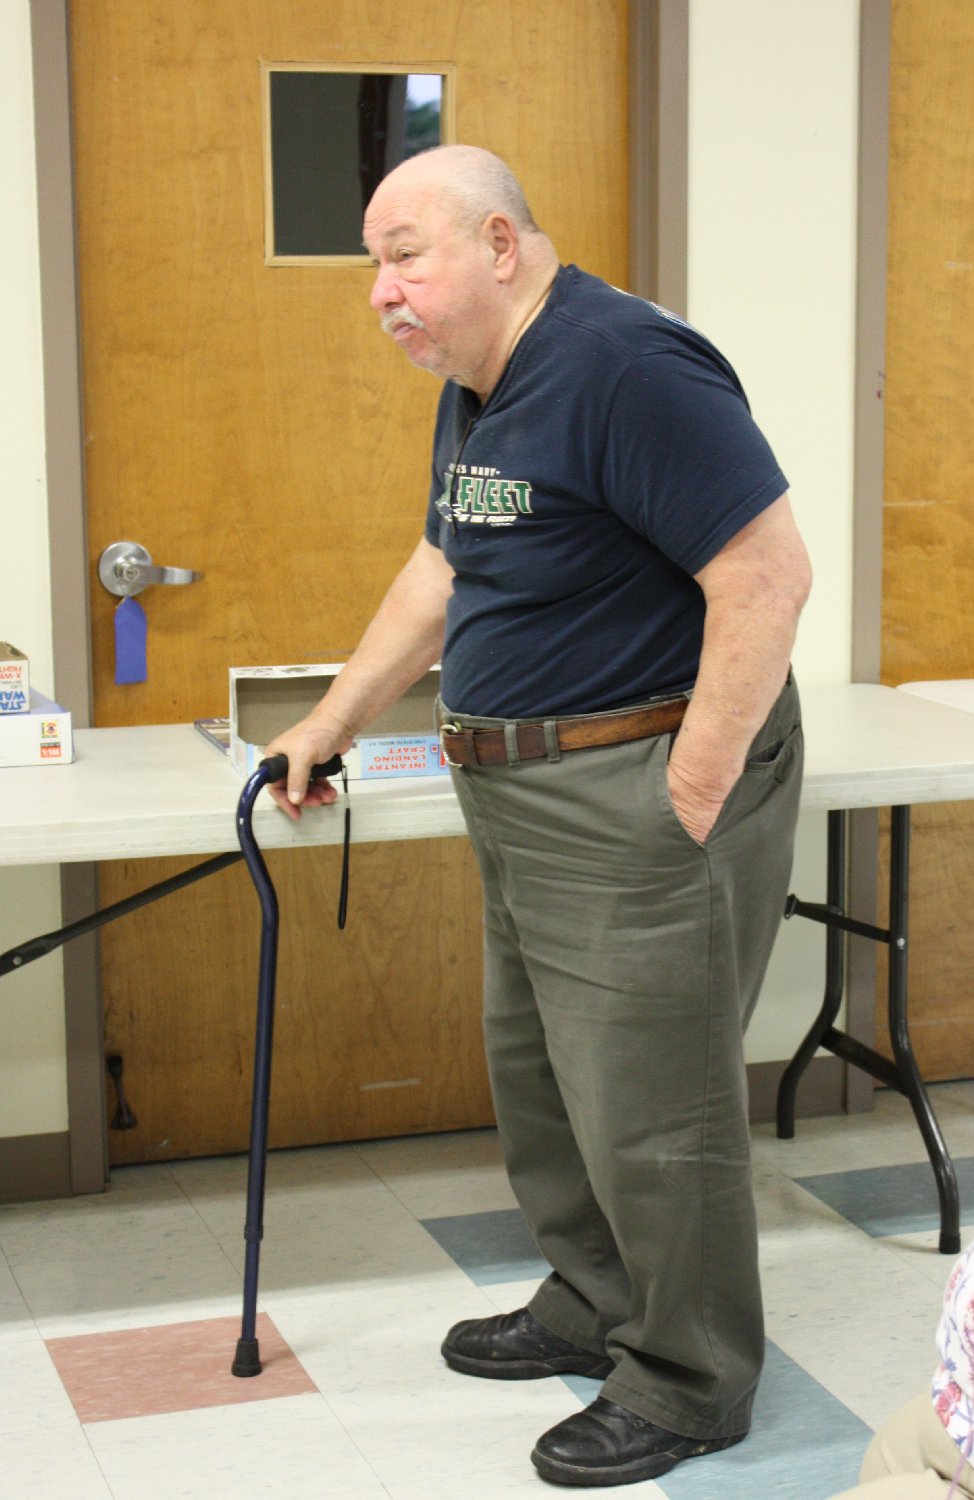
Below, some images of our friend at club meetings.
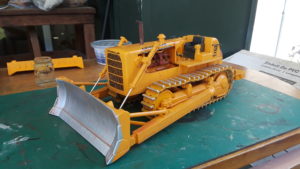
Still a work in Progress. Really pleased at how the blade metal came out!