
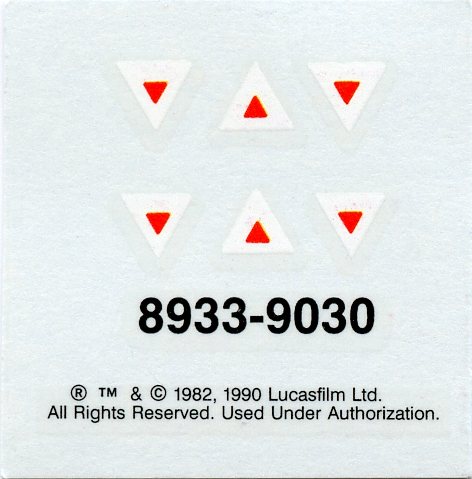
The MPC kit decals are basic to say the least
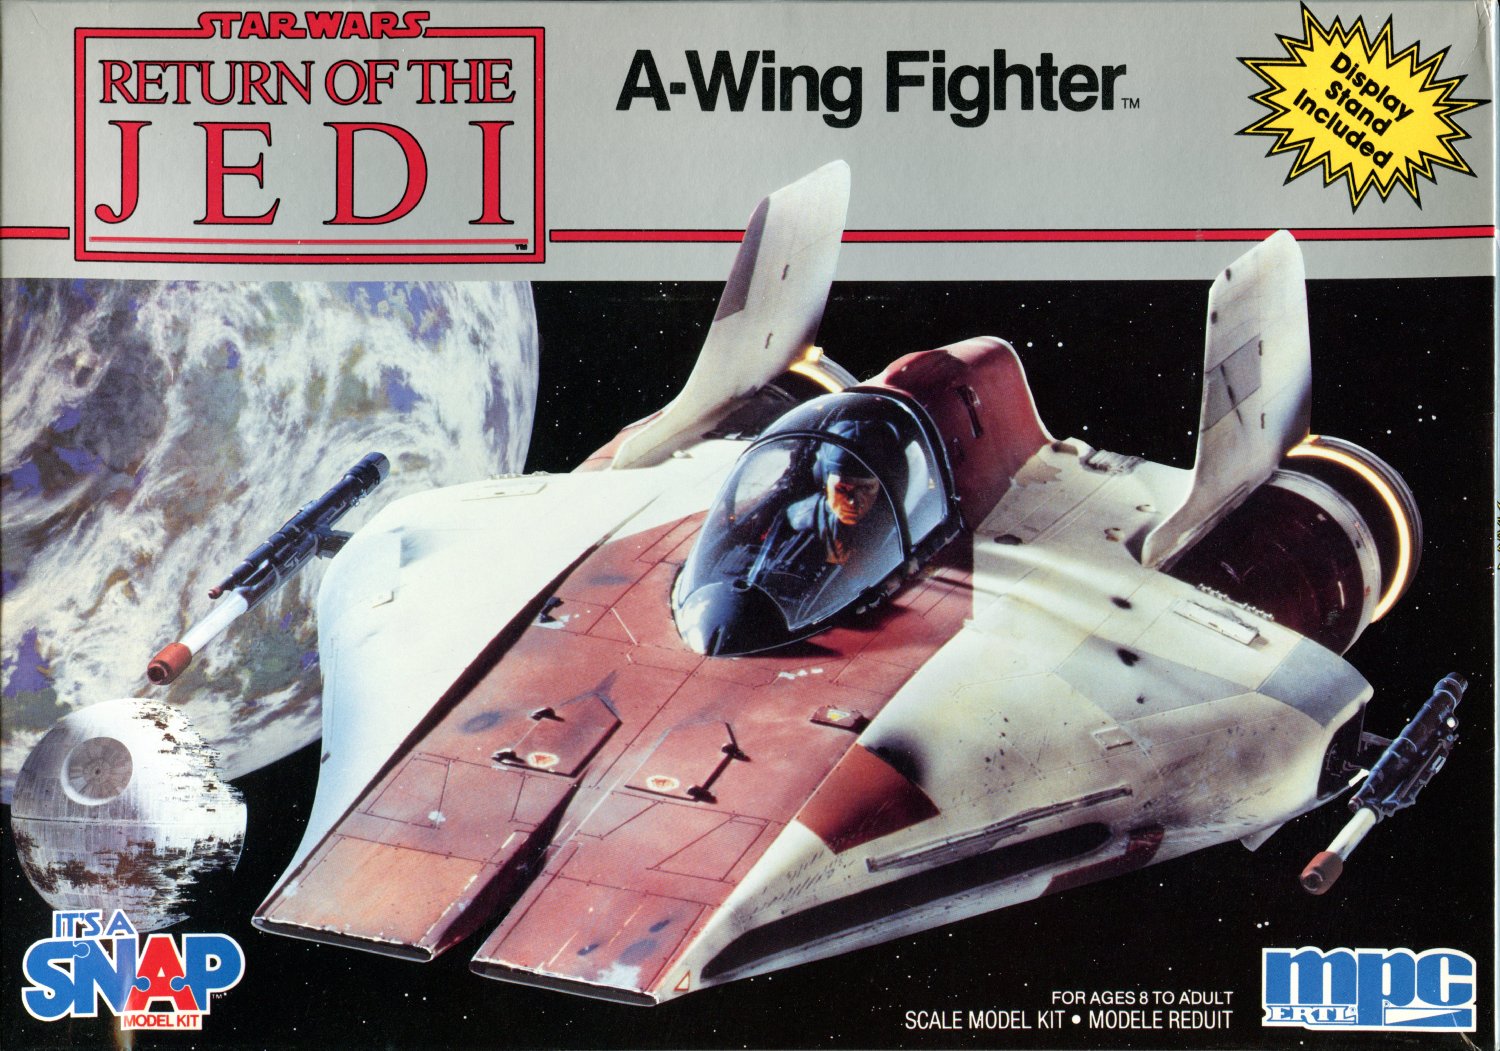
The picture on the box top is a contemporary image of the studio model. Although it appears to show two ‘slot’ intakes on the nose, in reality the edges are solid.
UPDATE: 11 July 2016 – Added a PDF showing the placement of the decals on the filming model.
My latest research effort is for the A-Wing seen in ‘Return of the Jedi‘ (aka Episode VI). A recent find at Denbigh Hobby Center of an old MPC snap-tite kit got me wondering if I could improve on the very basic decals offered. Of course, these days there is a veritable feast of reference images of Star Wars production props, costumes and (yah!) the vehicle studio models. Using these resources allowed me to compile a ‘tracker’ spreadsheet analogous to the one I made for the Millennium Falcon. Since I could only find the thirteen – and one probable – decals used, this was very quick. Identifying the source also proved to be straightforward as it turned out they all came from one donor: the 1/24 Airfix Harrier kit! I’d previously obtained a copy of the kit sheet while researching the Falcon’s marking. I scanned the sheet which served as templates for creating vector graphics using OpenOffice.Org suite’s DRAW software. I then arranged the designs in a document with an aim of printing on clear & white inkjet decal film for use on my MPC model.
In conjunction with this little project, I spoke with J. Nuss who offered a scan of a new Bandai 1/72 A-Wing kit (which is amazingly faithful to the filming model…) he had recently purchased. I vetted the Bandai decals against my research and pronounced it “good”. There were a few items missing from the Bandai kit (mostly from the underside), but given the tiny size of these decals, it would be hardly noticeable.
In any case, I am sharing my results here as a PDF file which contains the artwork and a scale ‘ruler’ that shows the original size of the Airfix decals used. Application to other than “studio scale” models will require some measurement and experimentation to determine the correct print reduction factors for other models. This will require a certain amount of ‘eyeballing’ the sizes from reference images, such as those found on Modelers Magic and the One Drive public archives. I also will report my results when I do my own tests. [13 July 2016: I found that a 30% print of my artwork is the correct sizing for the MPC kit.]
One note on how I recommend tackling the ‘at home’ printing. Essentially, I do test prints on plain paper until I get the needed size (recording the print percentages as I go on the output sheets to prevent mistakes.) Then, measuring the decal print area, I cut out a piece of decal print paper slightly larger. This I then lightly tape to the back of the test page in line with the decal print area (I use a window to back light the papers to ensure accurate alignment.) Using a new knife blade, I then carefully cut out decal area through both papers, creating a matching ‘patch’ of decal film for the open area of the test page. The film ‘patch’ is then neatly taped into the hole from the back (after removing the excess decal paper & its tape, of course.) This page is then loaded into the printer & the design printed, with the ink falling on the decal film as desired.
Any printing of thick paper is best done according to the printer instructions, and the tape must be cleanly and tightly applied to prevent any ‘peel up’. Club member B. Bradford also had a tip of only taping the ‘leading edge’ of the decal film to reduce the amount of tape going into the printer.
- A-Wing Tracker spreadsheet (Excel XLS format)
- A-Wing Graphics artwork & printer layout (PDF format)
- A-Wing Decal Placement maps (PDF format)
Resource Websites:
- Modeler Magic Reference Archives: [Cesar Toro] & [Jean-Marc Delschamps & Olivier Cabourdin]
- MS OneDrive Public Archive by “Steve B” (look in ‘Montreal Star Wars Identities’ folder): [OneDrive]