
1:48 Scale Martin P4M Mercator by RCM (Robert’s/Combat Models)
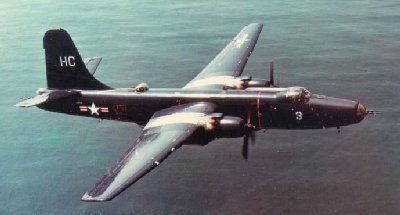
Part 1: First off, let me share with you that this will not be a quick process. I had decided, in spite of past experience with Combat Models vacuform kits, that I would attempt their P4M-1 because I really wanted a Mercator model. In 1:48 scale, the Mercator is impressively large, as it should be. The real deal was no lightweight, being a four-engined patrol-cum-ELINT aircraft. (The engines were two Pratt & Whitney 4360 ‘corncob’ radials that each shared a nacelle with a Allison J-33 turbojet – the same engine that powered the P-80 fighter.) The ‘Merc’ spanned 114 feet and was 85 feet long, or 28.5 by 21.25 inches in scale. A big model no matter how you slice it.
So, with a kit on order (along with the optional resin ‘detail set’, offered as a bundle by Robert’s Models) I picked up a copy of Steve Ginter’s Naval Fighters Number Thirty-Seven: Martin P4M-1/-1Q Mercator monograph as a supplement to the material I had previously gleaned from the Web and from a visit to the National Museum of Naval Aviation‘s archives to photograph relevant pages from the NATOPS and Tech manuals they hold there. Having all this reference material helped with my decision to tackle what I suspected would be a pretty rough kit. Little did I know! But I get ahead of myself…
To be fair, the Combat kits being offered by Robert’s Models are from another era of ‘vac’ modeling. These kits do not represent the current state of the art for a modern, good quality ‘multimedia’ vacuformed kit. Robert‘s addition of resin ‘detail’ parts is an attempt to update the kits to a better standard.
Vacuform kits have always been something for the ‘hard core’ enthusiast, at least amongst plastic model kit builders. Typically, these kits are the product of a ‘lone gunman’ working in his garage or similar facility, making masters by hand with all the precision, or lack thereof, that their personal craftsmanship could muster. Some were more successful than others since making vac kits is, to be honest, not rocket science – but it can be akin to an art (some say a ‘black art’!) [See the series on vacuform modeling HERE]
Some makers, like Bill Koster of Koster Aero Enterprises, had actual model industry experience (Bill worked at Monogram) and could produce kits that were the equal or better of any injection molded kit with regard to engineering, accuracy and value. But at the beginning of the vacuform ‘movement’, there was a wide range of ‘adventures’ to be had. More typical was that the end result was more dependent on the builder’s skills than the maker’s efforts. This is why even to this day, the mention of a vacuform kit causes most modelers to break out in a sweat (assuming they even know what one looks like.)
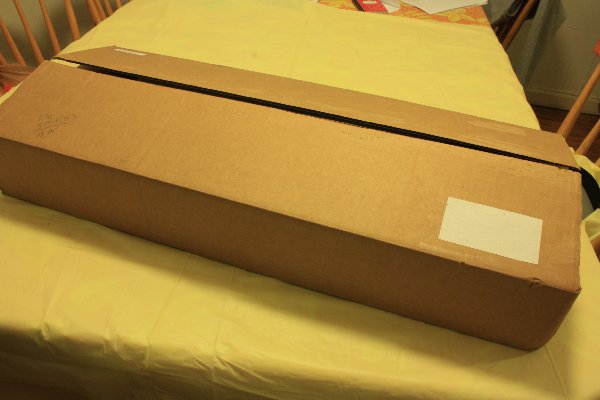
Large box protects kit in the post
It is upon this field of dreams I pondered the Mercator, assisted by my friend B. Brickhouse’s stories of his NARF (Naval Air Rework Facility) days working on such aircraft. I had the motivation and the tools, and when the kit arrived, I had the raw material.
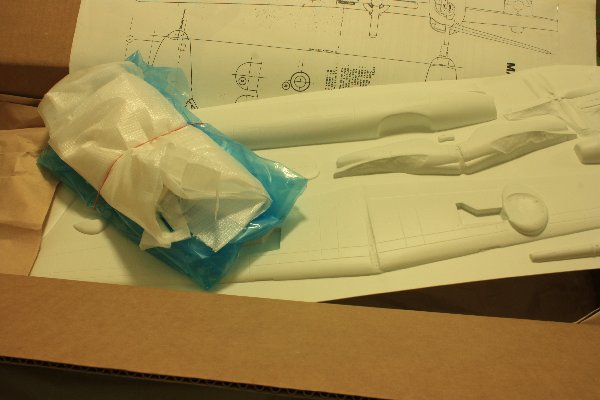
Box contents include two large vac sheets, wrapped clear vac parts, plans and wrapped resin detail set.
Unfortunately, “raw” is an accurate description for this kit. To give credit, the parts were cleanly molded, for the most part, and didn’t have any ‘subsided’ pieces which seemed to be common of Combat back in the day. There were scribed panel details and such obvious features as windows present.
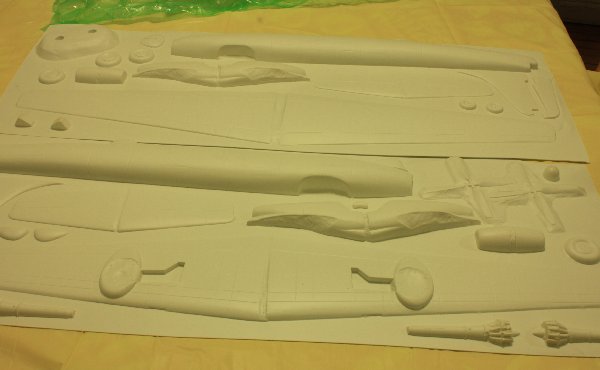
The two large sheets of vacuform parts. Notice the jet engine pieces.
On initial inspection, the vac parts looked promising but as I delved into the contents, I found a number of issues with the contours of the fuselage halves, the nacelles and the canopy. I used the fuselage frames diagram in the Ginter book to check the length of the various features provided on the parts. It became obvious that the fuselage was 1) too short, 2) the halves were seriously asymmetrical and 3) the distinctive ‘slab sided’ contours were not properly nor consistently depicted. Also, the canopy, though clearly molded, was far too large & lacked the distinctive ‘bubble’ shape which means a new one will have to be made.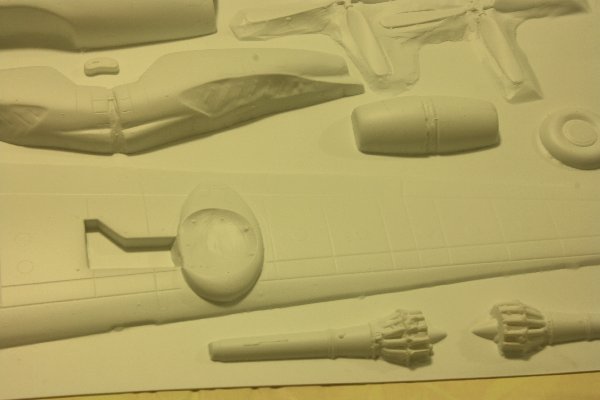
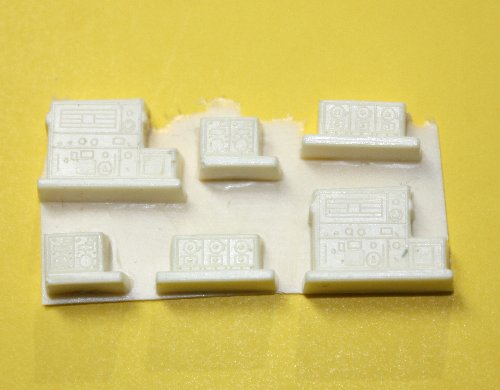
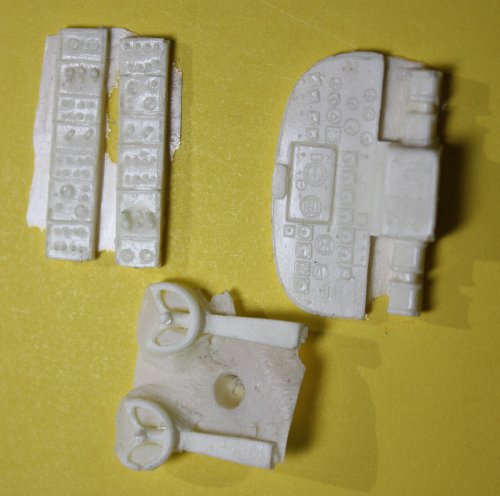
Various generic resin radio ‘boxes’
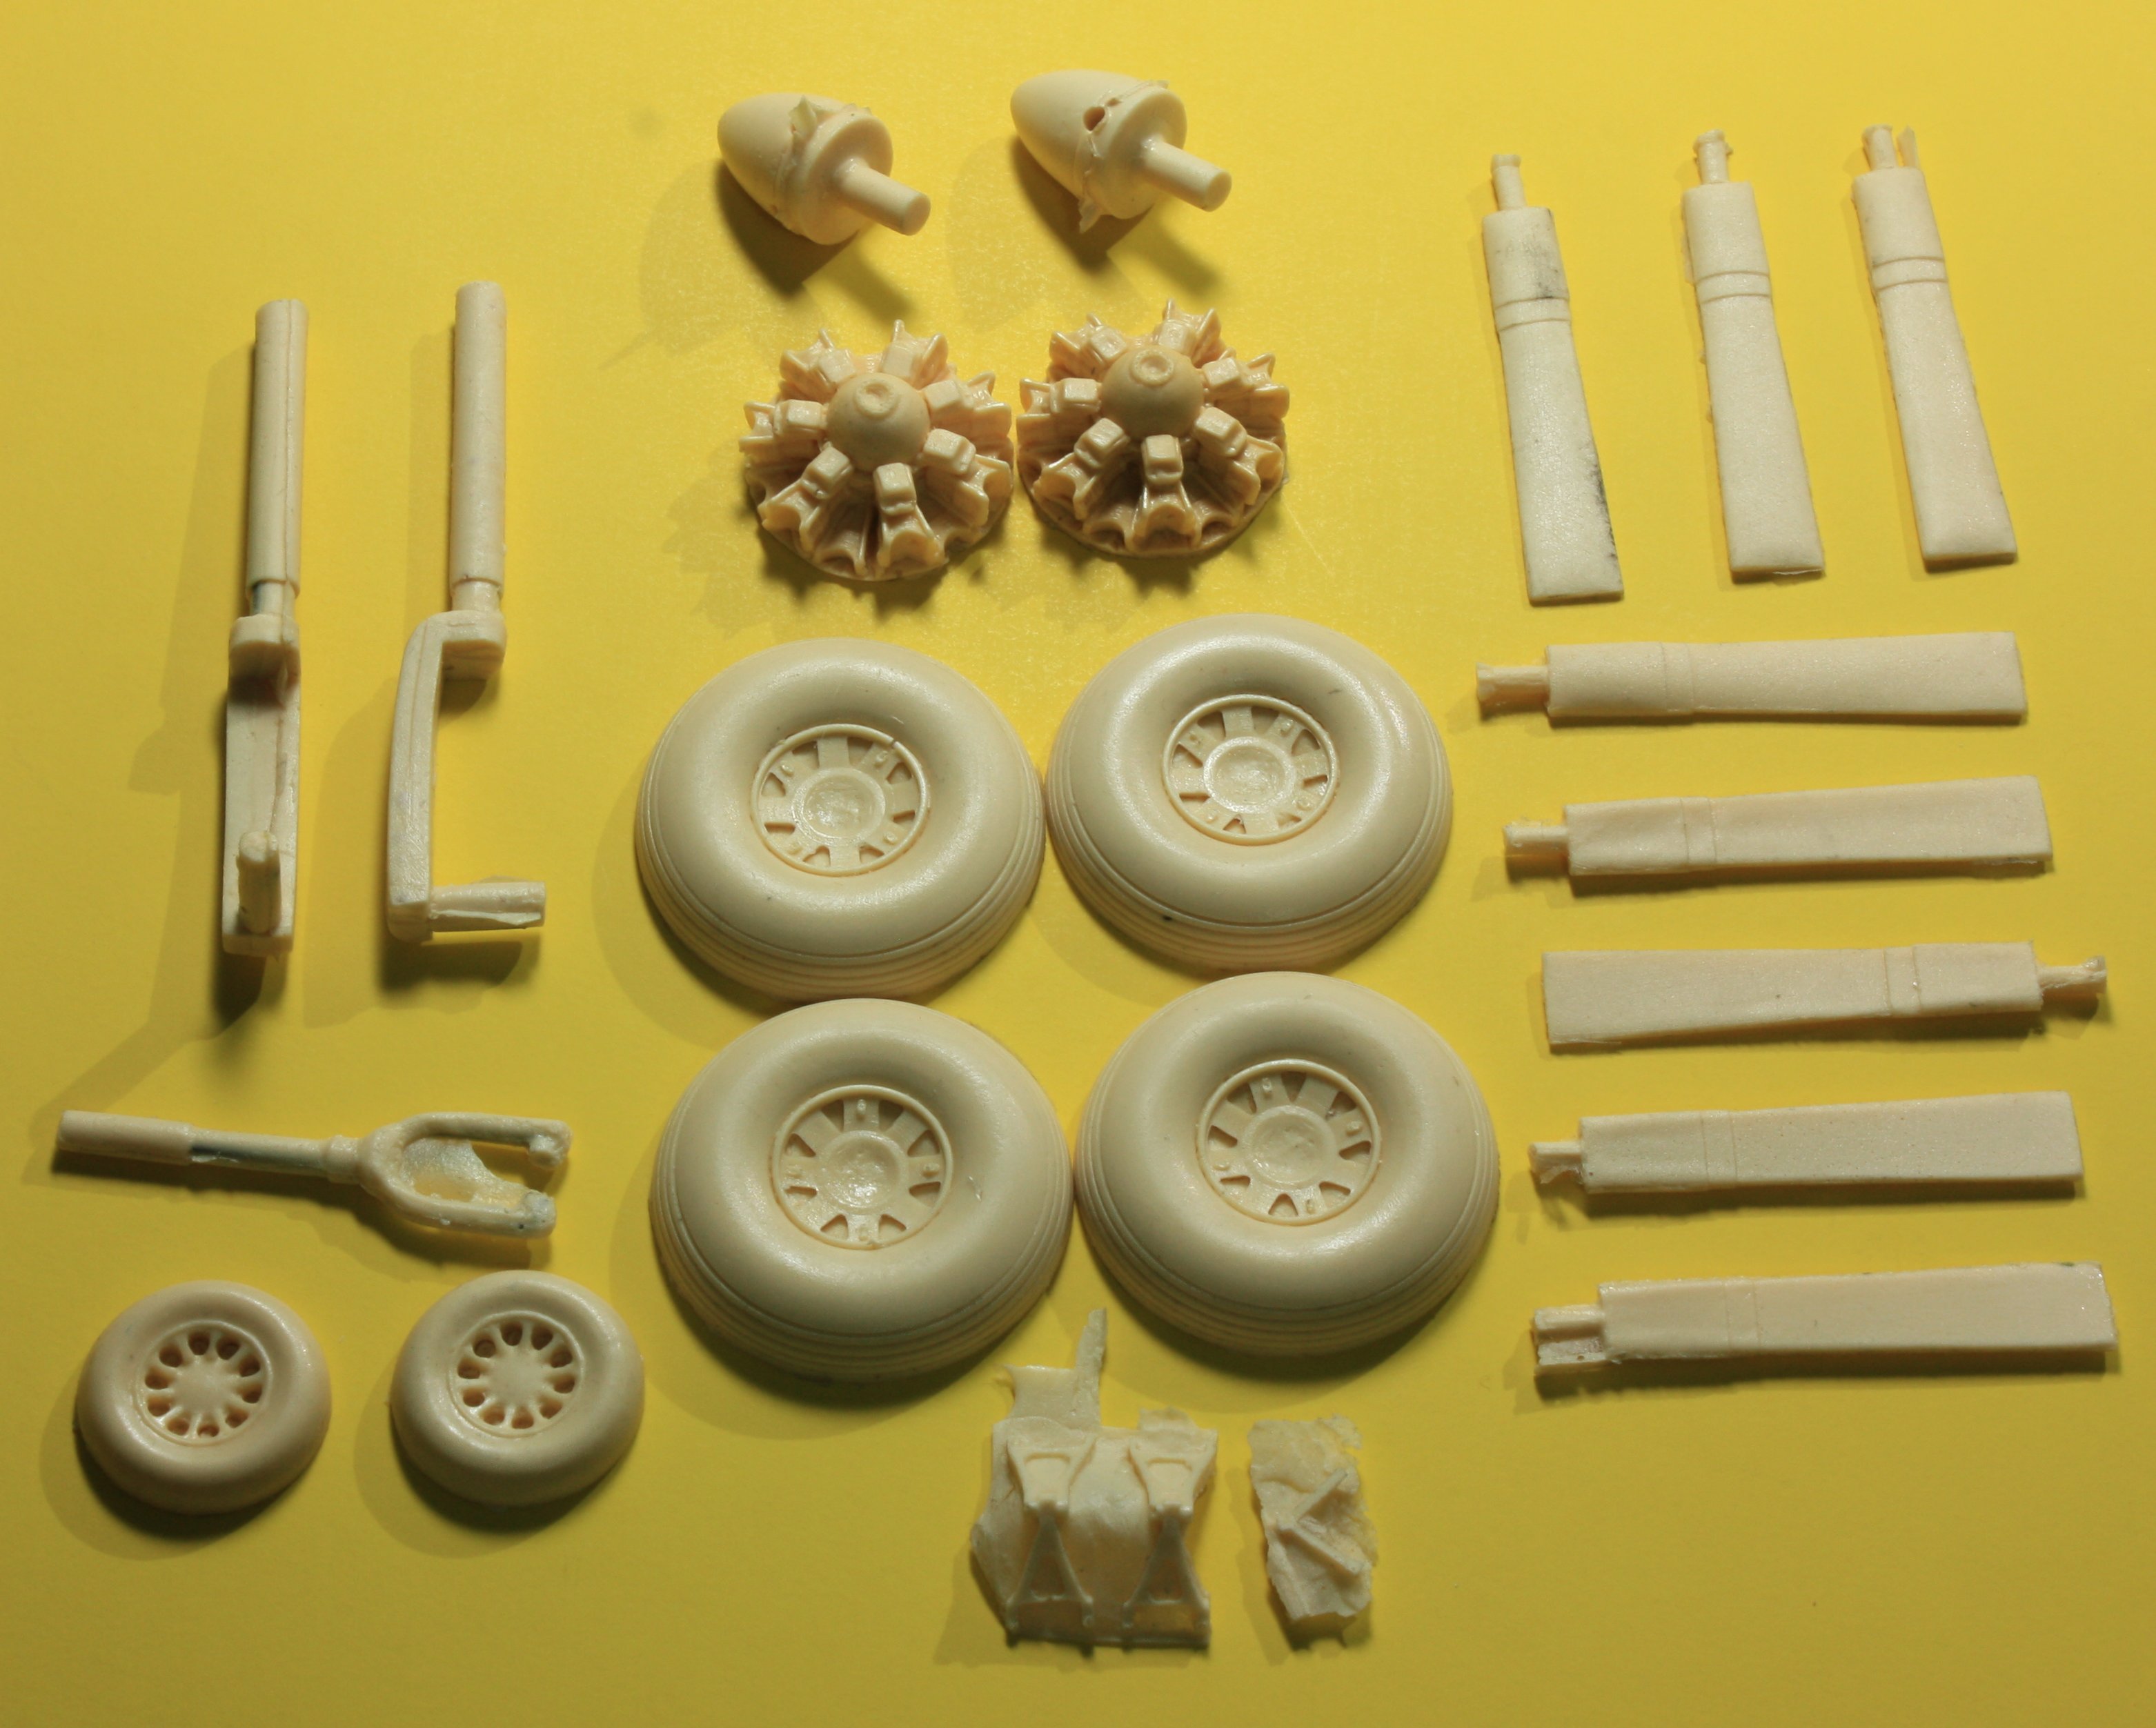
Provided resin pieces for exterior details
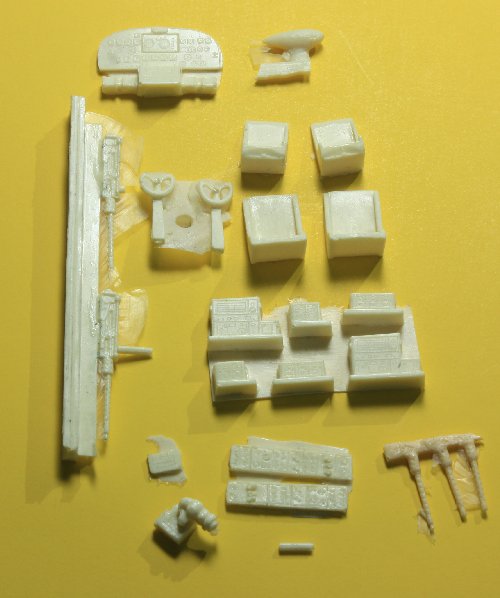
Essentially generic interior parts
The separate optional resin ‘details package’, available to assist with sourcing such parts as landing gear, props & engines plus various cockpit details, offered a selection of items that unfortunately bore only a passing resemblance to the originals. 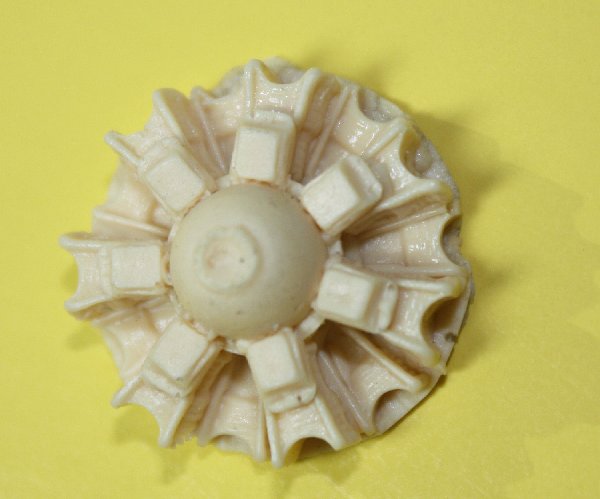 The engines are just ‘fronts’ with cylinders that look like a twin-row radial vice the four row R-4360 ‘beastie’. The wheels are properly sized but the hub detail is wrong being closer to the prototype than production items. The main gear legs are too long, but do appear to have wire reinforcement. In short, the parts allow for a generic impression of the needed details, but aren’t very accurate. The pictures tell the tale.
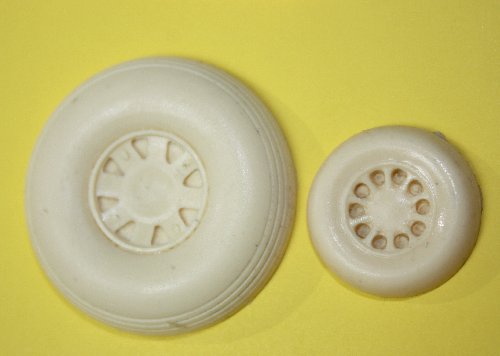
Needless to say, my assessment of the raw kit gave me pause. I retreated to considering various ways to tackle the problems and challenges presented by the kit. I knew I would not be satisfied to build it ‘out of the box’ since the resulting inaccuracies would be way too obvious to my now ‘research tainted’ eye. So, it went back onto the shelf for a bit to await my enthusiasm to get recharged.
As an overview of the specific issues I know I will have to address, the following list is provided:
- Insert three 6 scale inch plugs into fuselage to correct the length.
- Re-contour aft fuselage to flatten the area adjacent to the rear gunner’s station.
- Map out fuselage stations and related bulkheads so bulkheads can be added to assist with re-contouring the fuselage.
- Build and detail the internal bomb bay to help support the fuselage and wing structure.
- Engineer wing spars (forward & aft) to support the wing & set the dihedral.
- Correct inner wing panel contours (incorrect airfoil shapes.)
- Correct outer wing panels to depict the changes in airfoil as present on the prototype.
- Build a cockpit, nose (nav & bombardier), radio and radar operator stations forward of bomb bay.
- Build the tail gunner’s station interior.
- Build the aft fuselage compartment (since the electronic recon operators stations are visible through the clear port waist window.)
- Open bomb bay doors as almost always open when on the ground.
- Remove & correct the ventral radomes and use as ‘masters’ for replacement parts and to allow duplication for the P4M-1Q version’s extra ‘domes.
- Using spare Monogram B-17 wing parts, reconstruct the engine nacelles to correct shape.
- Replace engine cowlings using a combination of spare P-61 & vac kit parts
- Source replacement engines from either Engines & Things or from Model Shack parts.
- Fill and re-scribe panel detail as too deep and irregular to be acceptable.
- Correct resin main and nose wheel hubs to match production versions.
- Scratch nose gear leg from brass tubing (provided part lacks the ‘slanted’ fork of the original.)
- Trim and detail resin main gear legs.
- Remove and correct shape of the forward main gear wheel fairings.
- Use spare 20mm cannon parts from P-61 kit for nose and tail turrets.
- Scratch-build new master for canopy once all fuselage re-contouring work complete.
- Open forward and aft crew access hatches.
- Scratch-build tail ‘bumper’ skid.
- Add some interior lighting to help show off interior work; battery compartment can be incorporated in engine nacelles for ease of use & to help balance model on gear.
And that’s all for now… isn’t that enough?
2 Responses to P4M-1 Martin Mercator: Kit Review & Build – Part 1